
Last updated November 20, 2026
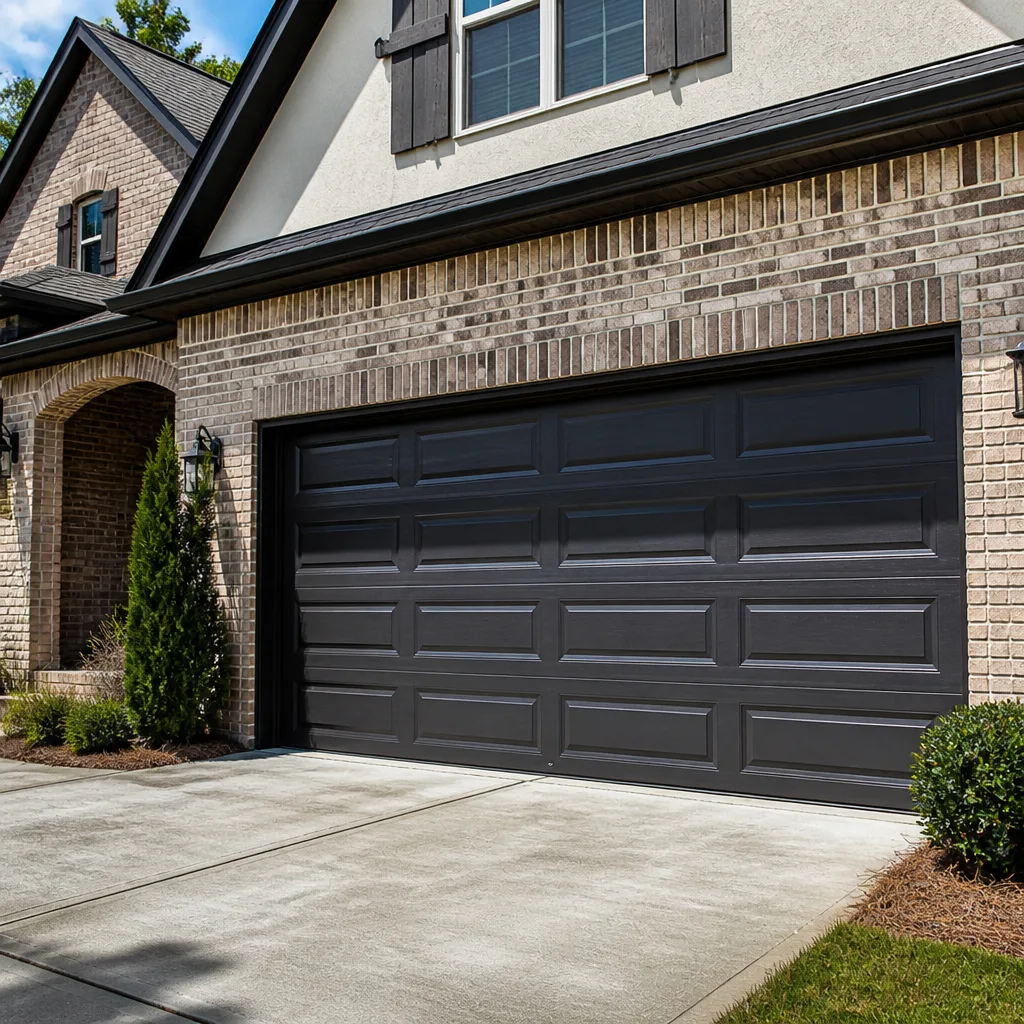 Raised-panel steel
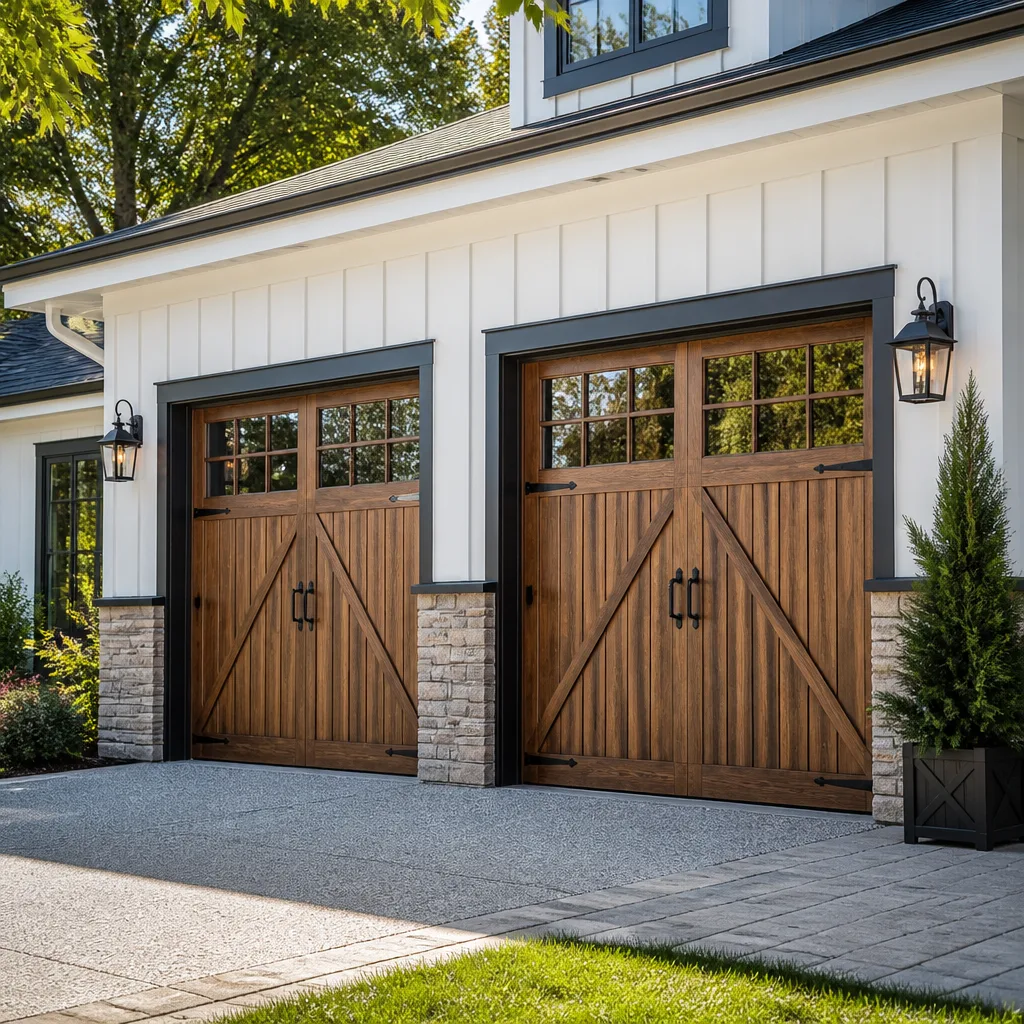 Carriage house
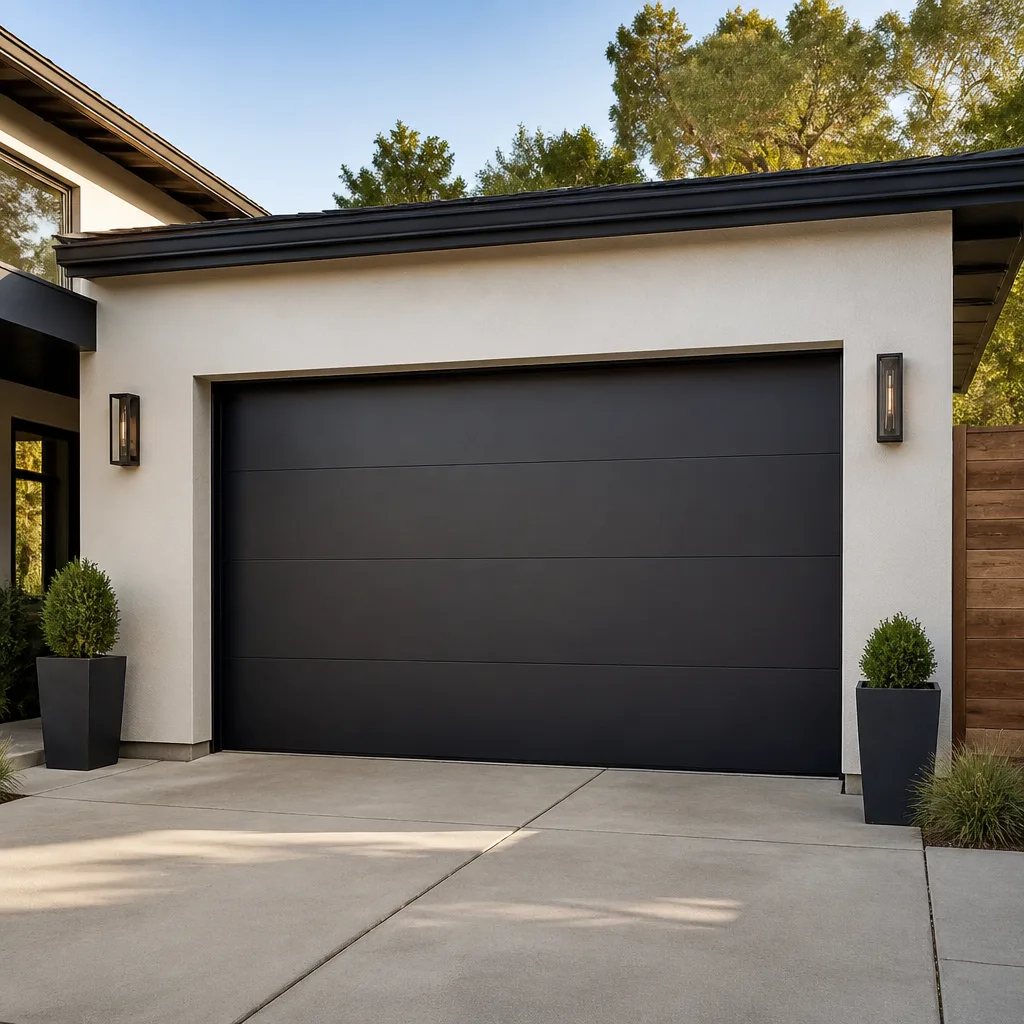 Modern flush
 Full-view glass
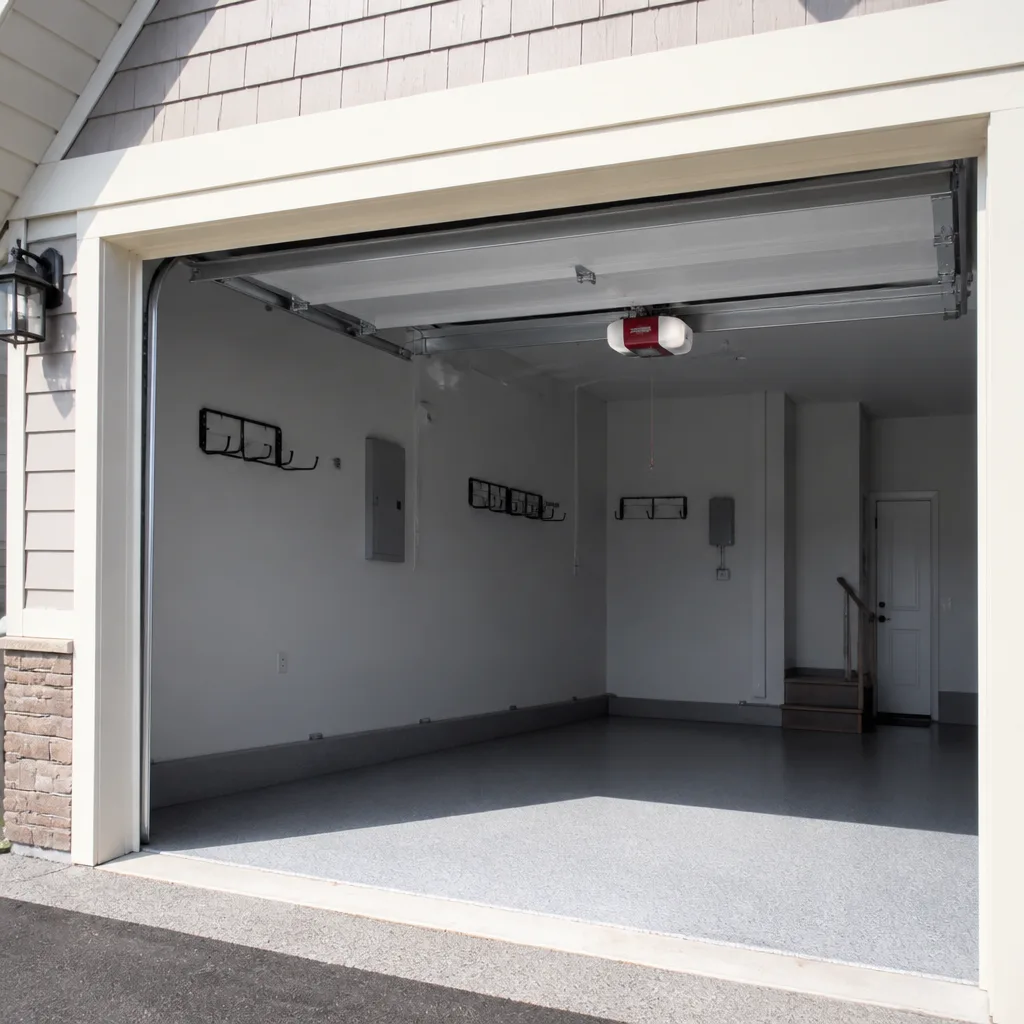 LiftMaster openers
 Chamberlain openers
Full 25-point door and opener safety check with every visit - springs, cables, rollers, tracks, and your LiftMaster or Chamberlain opener included
You get a price before we start. It does not change when the pro arrives.
Get your free estimateGarage Door Repair Maintenance Checklist for Stamford Homeowners
Most garage door failures don’t happen without warning. They announce themselves weeks in advance, quietly, in ways that are easy to miss if you don’t know what you’re looking at. A torsion spring doesn’t snap out of nowhere; it loses tension gradually and often shows a visible gap in its coils first. A cable doesn’t break without fraying. A roller doesn’t seize without squealing. Homeowners who call for an emergency repair usually had months of clues they didn’t recognize. This guide is built around observable evidence: what to look for, what it sounds like, what it feels like under your hand, and when it’s time to stop inspecting and call someone. We’ll cover each system in your door, how to test it safely from the ground, and how to log what you find so a technician starts with real history instead of guesswork. If you live in Stamford and rely on your garage as a daily entry point, this checklist is worth an hour twice a year.
Quick Answer
A garage door maintenance checklist should cover six systems: springs, cables, rollers and hinges, the opener and its safety reverse, the balance of the door, and the weather seal. Most of what you need you can check visually and by hand from the ground in under 30 minutes. Anything involving springs, cables or the opener’s internal wiring should be looked at, not touched. Twice-yearly inspections catch nearly every failure while it’s still a cheap fix rather than an emergency call.
Styles & brands we work with
- Raised-panel steel
- Carriage house
- Modern flush
- Full-view glass
- LiftMaster openers
- Chamberlain openers
Table of Contents
- Inspecting Torsion Springs Safely
- Checking Cables and Rollers From the Ground
- The Right Lubrication Schedule for Stamford Weather
- Testing Door Balance and Auto-Reverse
- Weatherstripping and Your Winter Heating Bill
- Opener and Track Checks
- Building a Maintenance Log That Helps a Technician
- Common Mistakes to Avoid
Inspecting Torsion Springs Safely
Torsion springs are mounted above the door on a steel shaft, and they carry enough tension to cause serious injury if handled wrong. You should never touch them, adjust them, or try to wind them yourself. What you can do is look. A healthy torsion spring has tightly wound, evenly spaced coils. A worn one often shows a visible gap of an inch or more between coils when the door is fully closed, because the spring has stretched beyond its working range. That gap is the first observable sign of fatigue, and it usually appears well before the spring breaks.
Listen, too. A spring under load that produces a sharp metallic bang when the door opens or closes, or a door that suddenly feels heavier halfway up, is telling you the spring is losing tension. In our experience, the springs that fail are usually the ones that sat in a garage all summer quietly stretching while nobody looked up.
What to check, standing on the floor with the door closed:
- Coil spacing: Even gaps across the length of the spring are normal. A single wide gap near the center is a sign of stretch.
- Visible breaks: A clean split or a section of coil lying apart from the rest means the spring has failed and the door should stay down until it’s repaired.
- Rust streaks: Surface rust along the coil weakens it under tension. Rust running down the coil is worth a call.
- Noise: A sharp snap at the start of travel, or a door that lifts unevenly, points to spring tension problems.
When a spring is the issue, we recommend keeping the door closed and calling. garage door spring repair is the highest-risk piece of the trade, and it’s the one most often botched by homeowners or general handymen. Our technicians have up to 10 years of experience handling springs, cables and the tools that go with them, and we only send people trained specifically for that work. If you’ve spotted a gap, a break, or a noise that wasn’t there last season, don’t wait for the door to fail completely.
Checking Cables and Rollers From the Ground
Lift cables run along the sides of the door and connect to the bottom bracket. They’re under constant tension and should never be touched without the spring tension removed. What you can see from the ground is their condition. A healthy cable is smooth, straight, and evenly coiled on its drum. A worn cable shows fraying, kinks, bird-caging (where the strands have separated), or a slack section that hangs off the drum. Any of those means the cable is close to failing and the door should stay put until it’s replaced.
Rollers live in the tracks on each side and on top. They’re simpler to inspect. With the door down, look at each roller from the side. It should sit squarely in the track and roll freely when you push the door slightly (only by hand if the spring is intact). A roller that’s cracked, flat-spotted, or has a worn bearing should be replaced, because a seized roller drags the door and adds stress to the opener. Hinges get the same treatment: loose screws should be tightened, but a hinge that’s cracked or bent needs replacement, not tightening. A hinge that fails at the wrong moment can drop a door panel.
Stamford’s climate throws a few predictable stresses at these parts. Between cold winters and humid summers, metal parts expand and contract repeatedly, and the seams where dust and grit collect tend to rust first. Any roller that’s noisy in the cold is worth looking at before it seizes. If you’d like a technician’s assessment rather than inspecting it yourself, garage door repair covers cables, rollers, hinges and panels in one visit, so you don’t need to chase down each part separately.
The Right Lubrication Schedule for Stamford Weather
Lubrication is where most homeowners do either too little or the wrong thing. The good news is that the products are simple, the schedule is light, and the parts you should never lubricate are the ones that cost the most to get wrong. Metal rollers, hinges, and the torsion spring itself take a silicone spray or a lithium-based grease. Nylon rollers should not be lubricated at all; grease attracts grit that wears them faster. Tracks should not be lubricated either; a greasy track catches dust and makes the rollers skid.
A practical schedule for a Stamford garage:
- Twice a year – light silicone spray on hinges and the torsion spring. A quick pass is enough; you’re restoring a thin film, not soaking the part.
- Annually – check metal roller bearings and apply a small dab of grease if they turn stiffly. A roller that needs grease every month is worn and should be replaced.
- Before winter – repeat the silicone pass on hinge pins. Cold contracts metal, and a dry hinge in February is the one that sticks and squeals.
- Never – grease on the tracks, grease on nylon rollers, or spray oil (WD-40, household oil) on the spring or cables. Spray oil is a solvent more than a lubricant and will strip the protective film rather than restore it.
Cables themselves should not be lubricated. Grease on a cable traps grit between strands and accelerates wear. A squealing cable should be inspected, not greased. For the spring, a light film of silicone is fine, but a spring that already has a gap or a visible break doesn’t need lubricant, it needs replacement. When that time comes, Garage Door Repair Stamford Pros can replace one spring or a matched pair; springs are usually replaced together, so the pair costs about twice the price of the single spring.
Testing Door Balance and Auto-Reverse
Balance and auto-reverse are the two tests that tell you whether the door is safe to operate, not just whether it opens. The balance test checks whether the springs and cables are doing their job; the auto-reverse test confirms the opener will stop and reverse if it hits something. These are the checks that matter most when kids or pets share your garage. Both can be done safely from the ground, and both produce a clear pass or fail.
Balance test, with the door closed:
- Disconnect the opener by pulling the release handle (the cord hanging from the opener rail). This puts the door in manual mode.
- Lift the door by hand to about waist height – halfway open – and let go.
- A balanced door holds its position. A door that sinks to the floor or rises on its own has a spring, cable or balance problem. If it sinks under its own weight, the springs are carrying too little; if it rises, they’re carrying too much.
Auto-reverse test: with the door open and the opener connected, place a small piece of lumber or a roll of paper towels on the floor under the door. Close the door using the opener. It should reverse and travel back up as soon as it touches the object. If it pushes down instead, stop using the opener and call us. If you have an older opener with a pressure beam, this test is essential before the door is used again.
We’ve seen openers that pass the mechanical test and fail the safety one, which is exactly why a balance check on its own isn’t enough. Call (855) 658-4183 if either test fails. We answer 24/7 and fast dispatch runs from 7am to 7pm.
Weatherstripping and Your Winter Heating Bill
Weatherstripping is the cheapest thing on this list to fix and the easiest to ignore. The bottom seal, the side jamb seals, and the top seal together keep Connecticut winter air, rain, and road grit out of the garage. When they degrade, you don’t lose just comfort; you lose heat through the garage, which is attached to the house. A garage that’s already cold because of a bad seal pulls heat out of the rooms next to it, and a garage door that’s clearly drafty in January is worth a close look in October.
How to check each part:
- Bottom seal – with the door closed, look under it from outside. Any daylight visible between the seal and the floor means cold air is getting in. A seal that’s cracked, flattened, or pulled free at the edges needs replacing.
- Side seals – run your hand down each side of the door frame. You should feel no draft. Sagging or torn rubber should be replaced, and gaps at the corners usually mean the whole strip is failing.
- Top seal – less visible but it matters, especially on doors facing the weather.
Weatherstripping is one of the few jobs most homeowners can handle themselves; it’s a matter of buying the right profile for your door and pressing or nailing it into the frame. What makes it a checklist item is that once the seal fails, the fix is quick and the savings are immediate. In Stamford, where heating costs are a real part of every household budget, a bad seal is worth replacing before the first cold snap.
Opener and Track Checks
Most opener calls we get trace back to a tired motor, a stripped gear, a weakened battery in a remote, or a misaligned safety sensor. All of those are checkable from the ground, and most of them are fixable on a single visit. The opener brands are more alike than they are different, but they do behave differently. A LiftMaster or Chamberlain unit with a battery backup tends to fail differently from a Genie or a Craftsman, especially when the battery has sat unused for a year. When an opener hangs or reverses on its own, the battery and safety sensor are usually the first places to look.
Quick checks:
- Safety sensor alignment – the two small lenses at the base of each track should be facing each other. If the indicator light is flickering or off, the beam is broken or misaligned. Clean the lenses first; a spider or a bit of grit causes half these calls.
- Remote range – shortened range usually means a drained remote battery, not a failing opener.
- Manual release – if the opener still works but the door feels heavy when connected manually, the opener isn’t the problem. Look at the springs.
- Track alignment – the door should travel on both tracks without rubbing. A visible bend in either track is a job for a technician; straightening it by hand usually makes it worse.
For smart openers, a dropped Wi-Fi connection is often just a network issue, not a hardware fault. If the opener itself won’t lift the door or the motor makes a grinding sound at the top of travel, garage door opener repair covers the drive gear, logic board, and sensor wiring. We work on LiftMaster, Chamberlain, Genie, Craftsman and Raynor units, along with everything else. If you’d rather have the whole door and opener checked at once, call (855) 658-4183; we answer 24/7.
Building a Maintenance Log That Helps a Technician
The single most useful thing you can give a technician on the first call is a short written record of what’s changed and when. Not a novel. A dated list of observations, ten seconds per entry. If you’ve noticed the door squeaking more in cold weather, a spring gap opening slowly, or the opener hesitating at the top, a technician can use that record to narrow the problem faster and avoid a second visit for something that could have been flagged the first time.
A simple log format. One line per check, dated:
- Date and what you did: visual check of springs, balance test, weatherstripping check.
- What you saw or heard: even “no issues noticed” is useful, because a clean baseline tells the technician what was normal for your door.
- What you changed: new batteries, lubricant applied, seal replaced, remote reprogrammed.
- How the door felt: heavier, lighter, or the same as last time.
Keep the log on a notepad hanging inside the garage door frame. Two checks a year, one when the clocks change in fall and one in spring, keeps the cadence automatic. Homeowners in neighborhoods like Shippan, Springdale and Newfield who do this consistently tend to catch problems earlier, and that’s not a coincidence; the log makes the evidence visible. When you call, you’ll describe what you’ve seen over time instead of what happened yesterday.
Common Mistakes to Avoid
- Forcing a door that won’t open. If the door stops halfway, the spring or a cable has likely failed. Pushing the door up by hand risks dropping it or injuring you. Leave it closed and call.
- Lubricating the tracks. Tracks should stay dry and clean. Grease on a track collects grit and causes the rollers to skid, which is how you get a door that jumps its track. Wipe them down with a dry cloth instead.
- Ignoring the balance test. A door that sinks halfway open isn’t just tired; it’s telling you the springs are under-tensioned, which forces the opener to work harder and wears out the motor ahead of schedule.
- Waiting until winter to check weatherstripping. By the time the seal is visibly drafty in January, you’ve already paid for the leak. Check it in October, when the fix is quick and the difference is noticeable by the first cold week.
- Using the wrong lubricant. Spray oil and WD-40 are solvents, not lubricants, and they strip the film from springs and hinges. Silicone spray or lithium grease is the right product; nothing on the cables at all.
- Glossing over the remote and safety sensors. Half of all “opener failure” calls we get are a battery or an alignment problem. Test the sensors and swap the remote battery before assuming the motor is gone.
- Not writing anything down. The gap you noticed in spring and forgot by winter is exactly the clue a technician needs. Two lines in a log turn that memory into evidence.
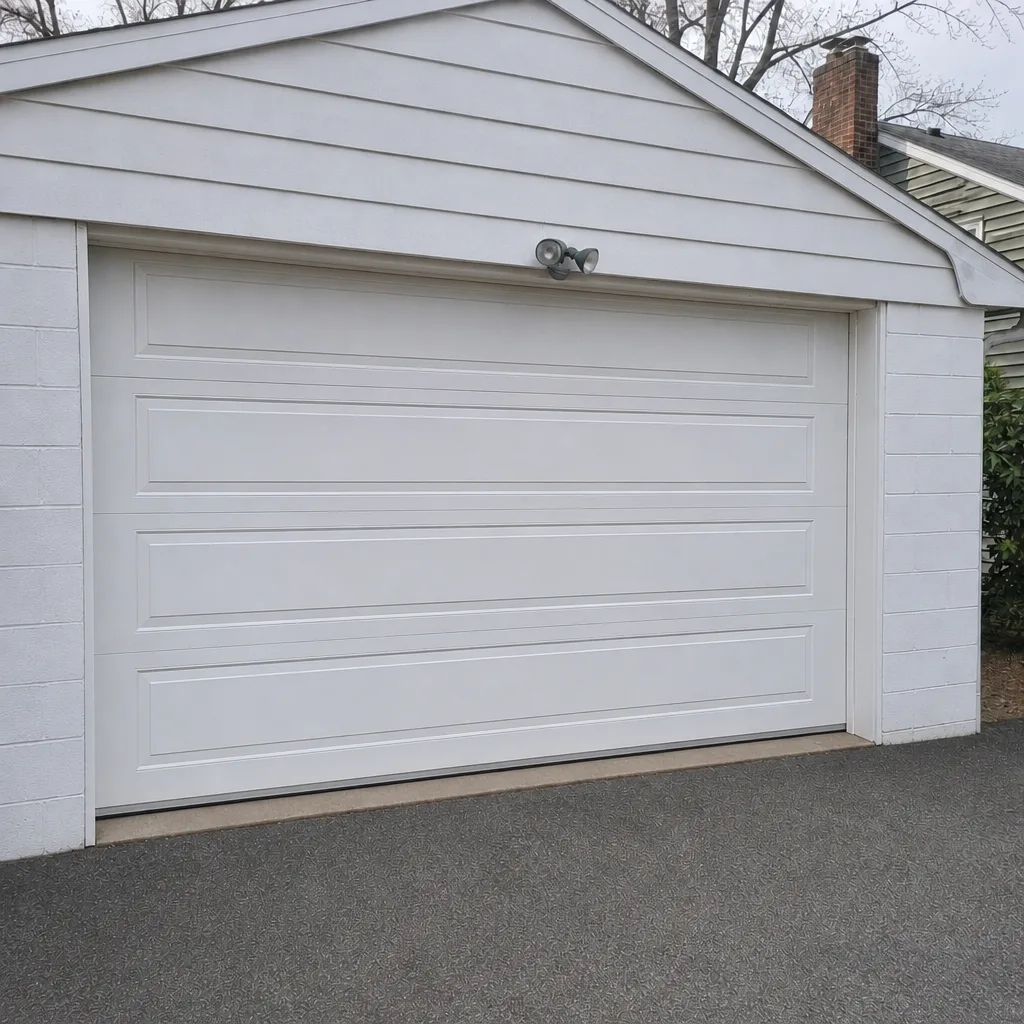
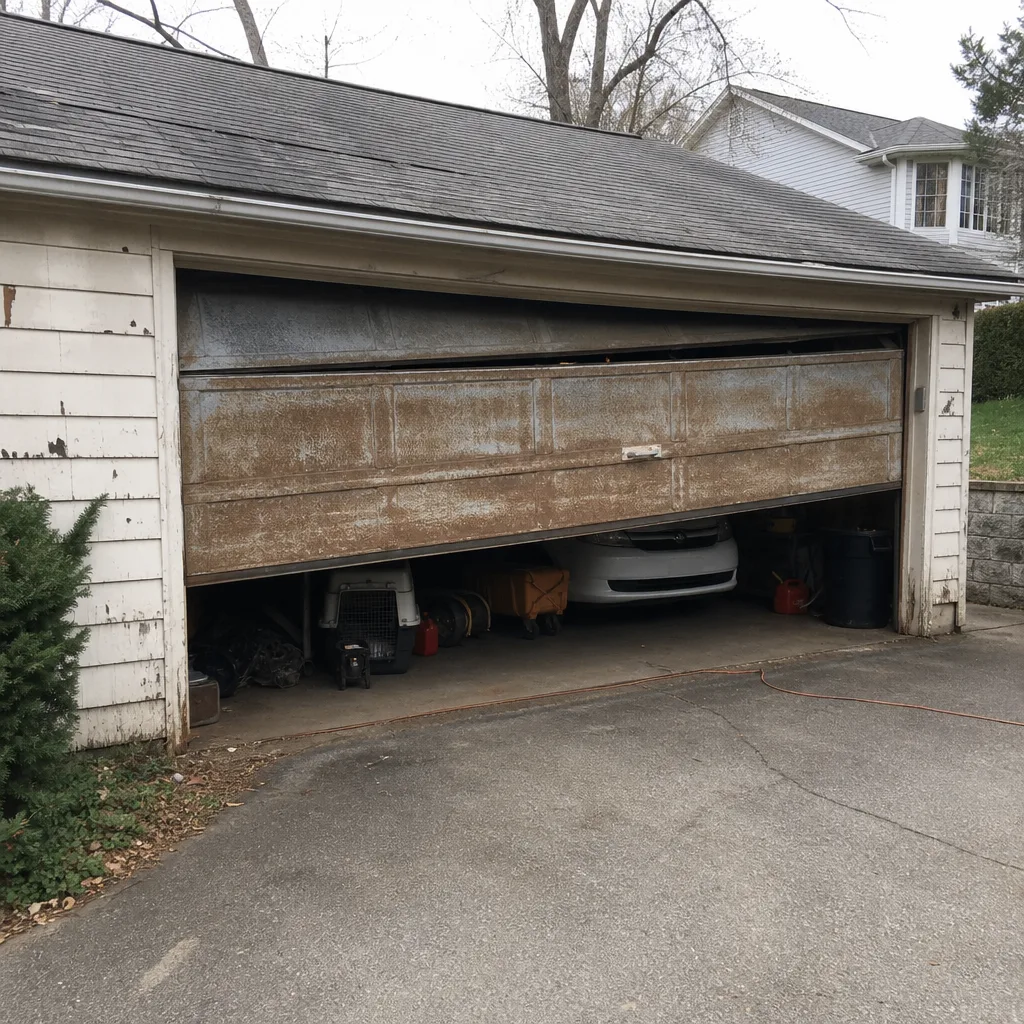
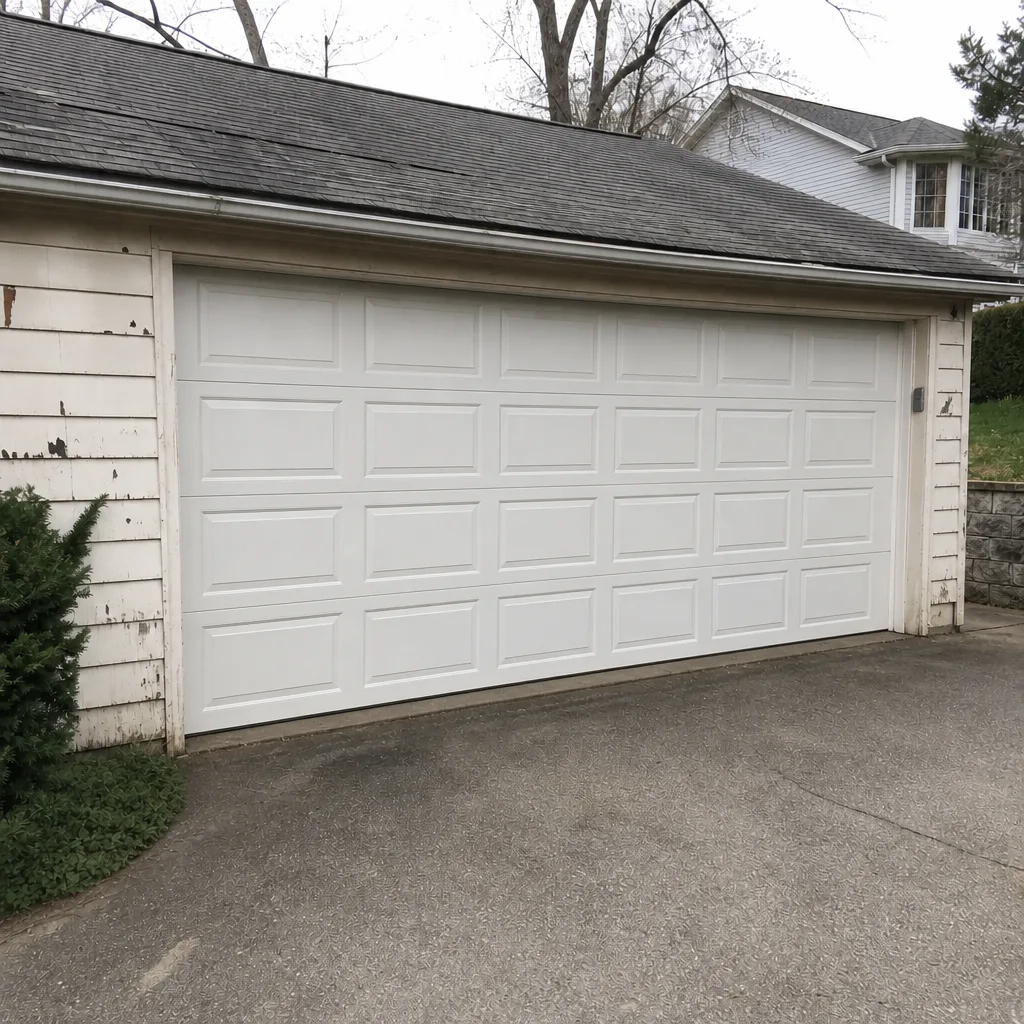
See the difference
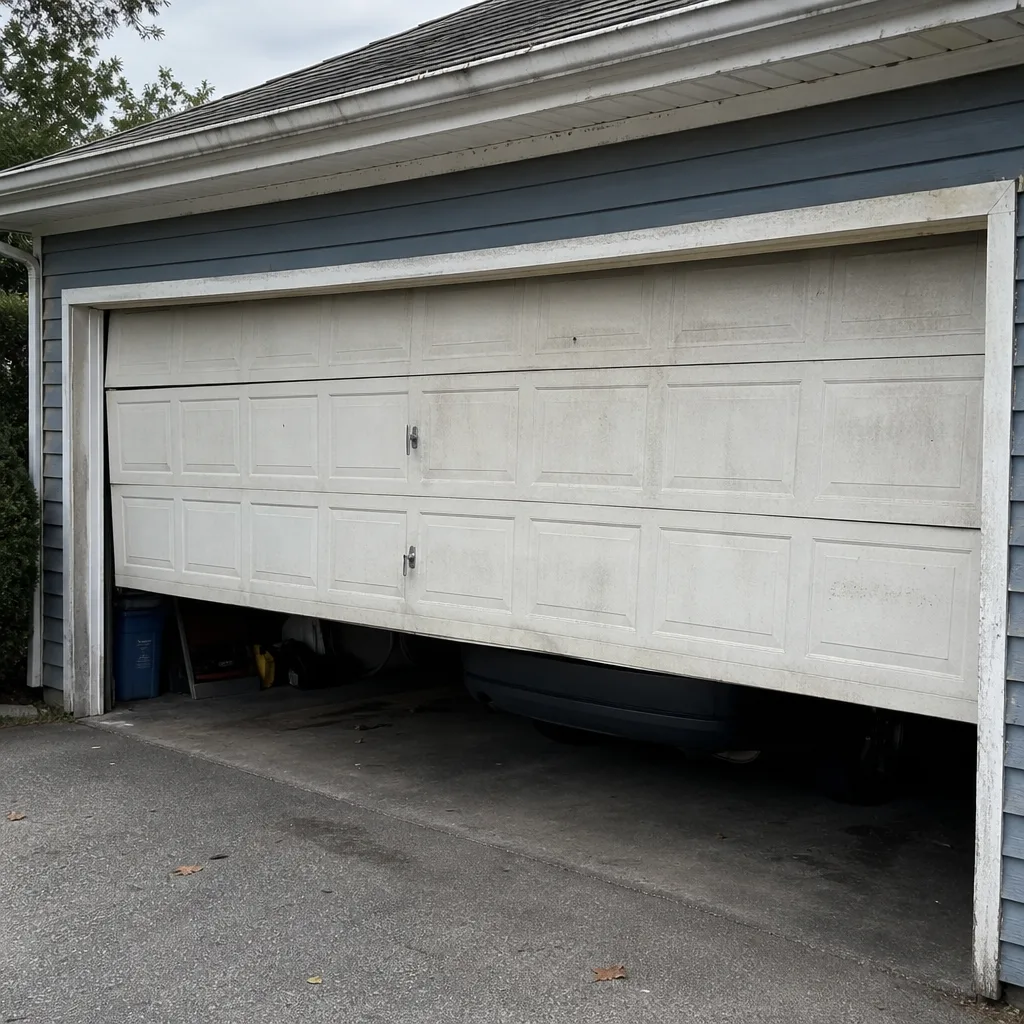 Before
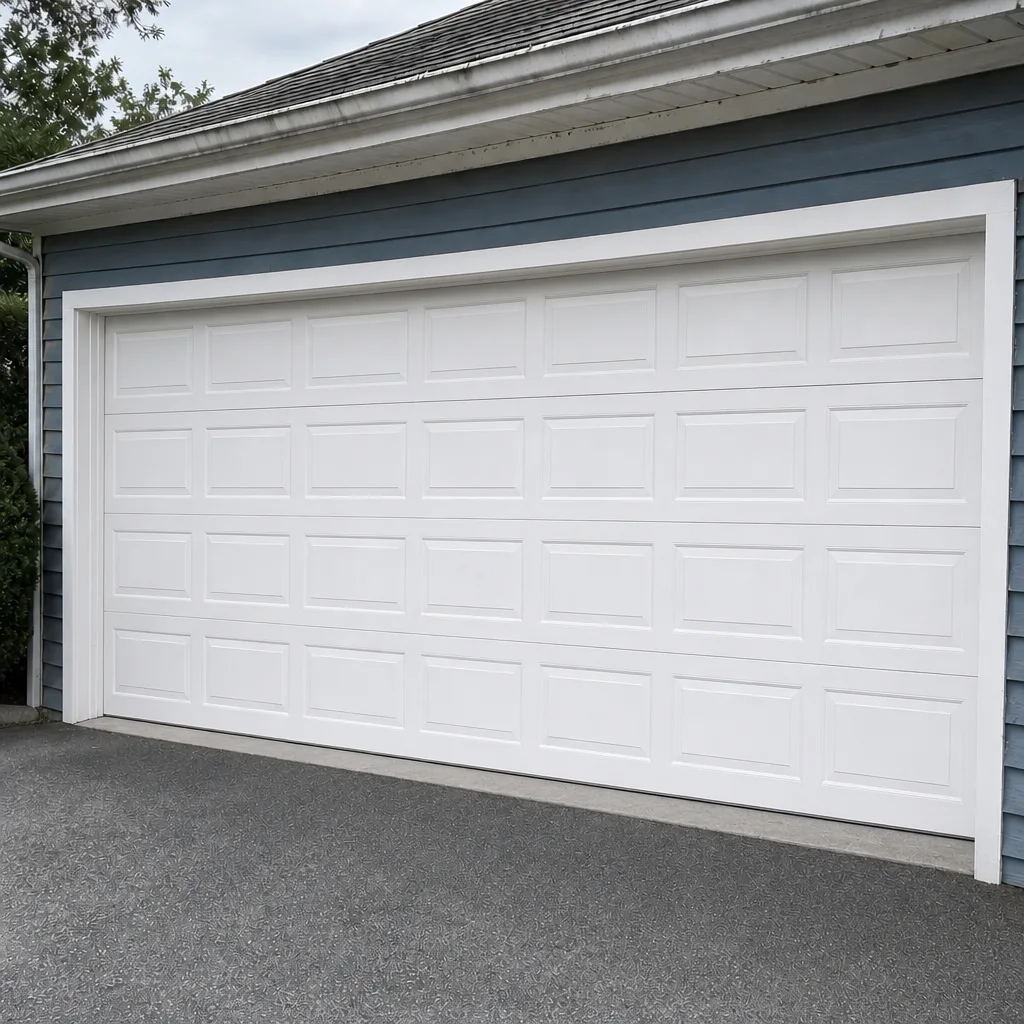 After
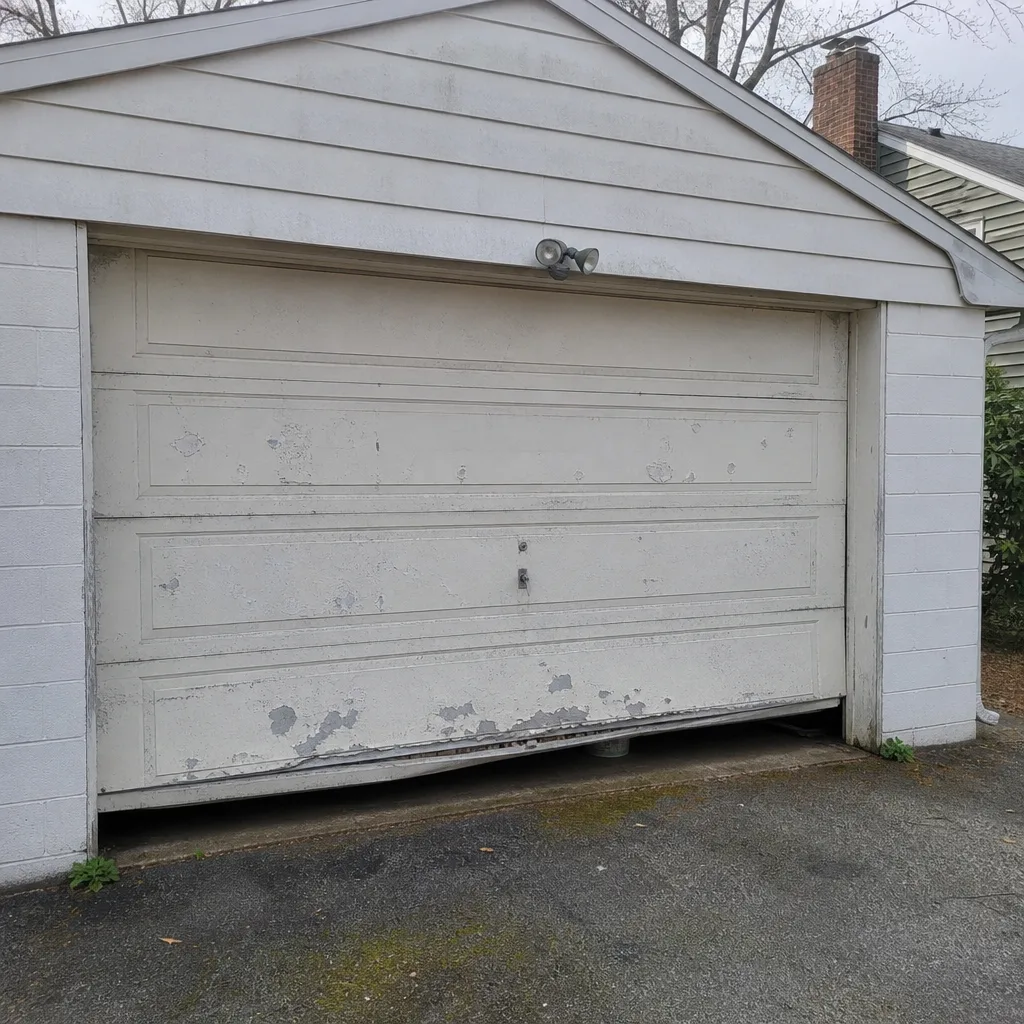 Before
 After
 Before
 After
When to Call a Professional
Call a professional for anything involving springs, cables, opener internals, or a track that’s visibly bent. Those parts carry tension or electricity and aren’t safe to work on without the right tools and training. Also call if the balance test fails, the door reverses on its own, or you’ve noticed a spring gap, cable fray, or a door that lifts unevenly. If the door is stuck open and the garage is exposed, you don’t need to wait for Monday. Garage Door Repair Stamford Pros handles repair and emergency service across Stamford. We work on LiftMaster, Chamberlain, Genie, Clopay, Amarr, Wayne Dalton, Craftsman and Raynor equipment, so we know your brand before we arrive. The estimate is free and the price is quoted before any work begins. Call (855) 658-4183. We answer 24/7. Fast dispatch, 7am-7pm.
Frequently Asked Questions
Twice a year is enough for most homes, ideally in spring and fall. Cold winters and humid summers put the door through a lot of expansion and contraction, so a spring check before winter catches problems while they’re still small.
A worn torsion spring usually shows a visible gap of an inch or more between coils when the door is closed. The spring has stretched beyond its working range, which means it’s holding less tension than it should, and it’s closer to breaking.
Yes, a light silicone spray on the springs at the same time you do hinges is safe from the ground. What you can’t do is adjust or wind the spring. That work needs the correct tools and a trained technician because the spring is under heavy tension.
Cold contracts metal, thickens the grease in the rollers and hinges, and can make a marginal spring feel weaker. If the door is noticeably heavier in cold weather, the springs may be near the end of their working life and worth checking.
Call us. A stuck-open door leaves the garage exposed, and if the problem is a broken spring or cable, trying to close it by hand can drop the door. We answer 24/7 and same-day service is often possible. Call (855) 658-4183.
Usually yes. Matched springs wear at about the same rate, so replacing one often leaves the second close to failing. A pair costs about twice the price of a single spring, and replacing both saves a second visit in a few months. The written estimate sets the final price.
The Bottom Line
Most garage door emergencies announce themselves months in advance. A spring gap, a frayed cable, a squealing roller, a door that sinks halfway open, a drafty seal in October. If you check six systems twice a year, log what you see, and call when the evidence suggests something is failing, you’ll spend far less time and money than the homeowner who calls after the door won’t open. Springs and cables stay off-limits for DIY; the rest is within reach from the ground. If you want a professional eye on your door in Stamford, call (855) 658-4183. We answer 24/7. Fast dispatch, 7am-7pm, Sunday through Friday.
Written by the team at Garage Door Repair Stamford Pros.